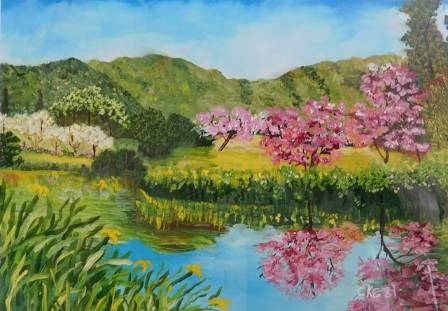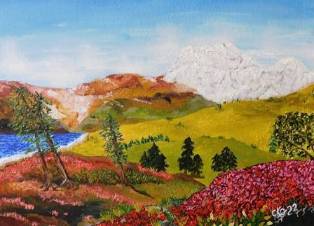
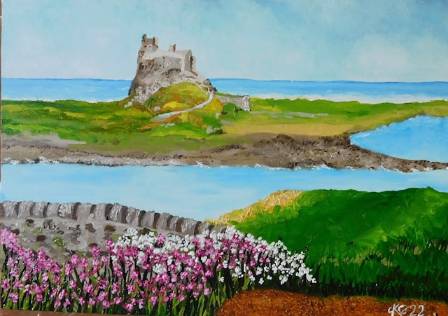
"Art is the exclusion of the unnecessary," as the saying goes. When approaching a vast landscape like a flower-filled meadow, the secret lies not in painting every individual petal, but in capturing the essence of light, color, and depth. This guide adapts classical landscape principles specifically for creating a vibrant floral scene using acrylics.
Essential Palette and Tools for Floral Landscapes
To begin this project, a square or rectangular pre-primed canvas provides a balanced composition. For your brushes, a medium-sized filbert is perfect for soft foliage, while a small round brush or a rigger brush is essential for fine stems and detailed floral highlights.
Your color selection should include artist-quality Titanium White for its superior covering power. For the landscape's structure, use Burnt Umber and Ultramarine Blue. To bring the meadow to life, you will need Cadmium Yellow, Alizarin Crimson, and a bright Sap Green. A 3B pencil is ideal for the initial sketch, as it marks the canvas easily without requiring heavy pressure.
Establishing the Ground and Composition
A common mistake for beginners is starting on a stark white surface, which can make colors appear colder than intended. Applying a "colored ground"—a thin, transparent wash of a warm tone like Yellow Ochre—provides a unified base. This under-layer will "glow" through the gaps in your grass and flowers, giving the painting a sun-drenched feel.
Once the ground is dry, use your 3B pencil to lightly mark the horizon line. Avoid placing the horizon exactly in the middle; instead, follow the "rule of thirds" by placing it either in the upper or lower third of the canvas. Sketch the large masses where the densest clusters of flowers will sit, keeping the shapes organic and flowing.
Defining Depth through Value and Contrast
Before adding bright colors, you must establish the value structure. Squint your eyes at your reference to blur the details. You will notice that the "darkest darks" are usually at the base of the distant treeline or deep within the shadows of the foreground grass. Use a mix of Burnt Umber and Green to block these in.
Conversely, identify your "lightest lights." In a floral meadow, this is often the sky or the tops of the flowers catching direct sunlight. Use pure Titanium White to mark these areas. Establishing this range of values early ensures your painting has a three-dimensional quality rather than looking flat.
Professional Techniques for Floral Details
When it comes to the flowers themselves, remember that atmospheric perspective plays a major role. Flowers in the foreground should be larger, with more defined shapes and thicker paint (impasto). As the meadow recedes toward the horizon, the flowers should become smaller, blurrier, and cooler in tone.
To keep your colors clean, change your rinse water frequently. Mucky water is the fastest way to turn a vibrant meadow into a muddy one. When painting the final highlights, use your artist-quality white to "pop" the brightest petals. This high-opacity paint will sit on top of the darker greens easily, creating a professional finish that draws the eye toward the sunlight.